[This is a general guide not a comprehensive breakdown of your car. All cars are different and you may need to research the specifics of your car.]
In this How to Rotate Tires Guide, we will take you through the important steps you will need to follow to be successful in rotating your tires at home. I will take you step-by-step through the process and give you a list of tools you will need to carry out your goal! Let’s dig in!
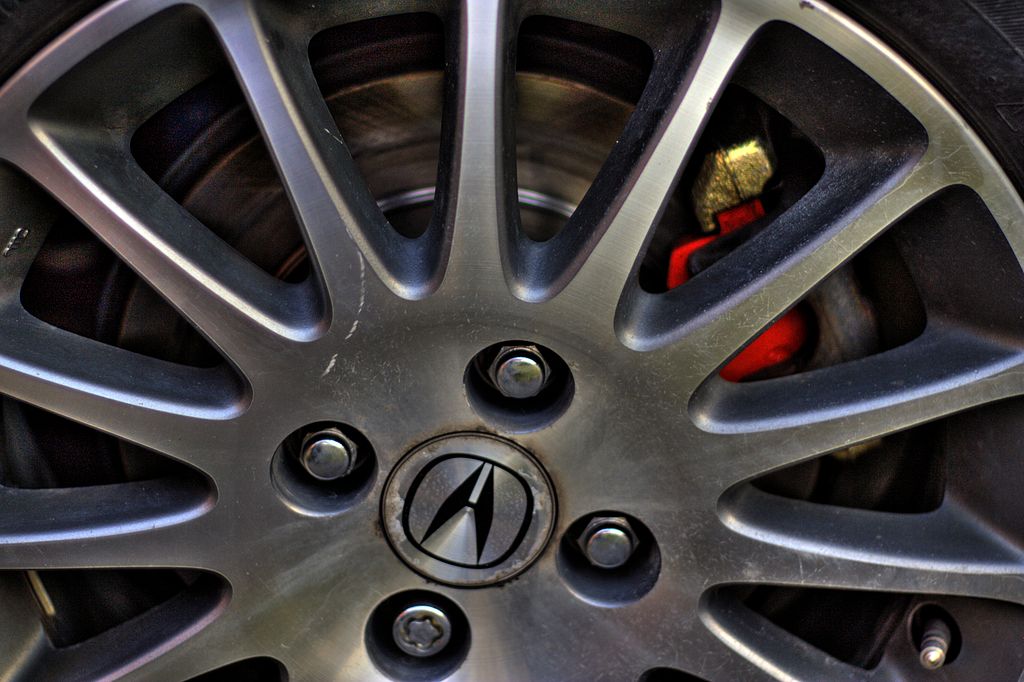
A word of note, not all cars allow for easy tire rotation. I own a BMW that has a different size tire front to back and the front tires have a decent camber to them, meaning they wear on the inside of the tire. I can’t swap them back to front… Oh, and the tires are directional. In this scenario, I take my car to the tire store, have them pull the tires off the rim, and turn them over. Just remember, your tires might not be easy to rotate and this guide may not apply to your car. Click here for a link to a video that explains some of the complications of rotating odd size and directional tires.
Take a moment and research your car’s tires before you start. Make sure the tire sizes are the same front to back and they are not directional.
If your tires are directional, you will need to go to the tire shop to have them rotated. They will turn the front tire over on the rim before rotating the tires.
Required tools
- Jack
- Jack Stands
- Socket
- If you have anti-theft lug nuts you will need to have that socket available as well.
- Extension
- Ratchet
- Torque Wrench
Optional Tools
- Impact Gun
- Breaker Bar
How To Rotate Tires
Position Car
First, position the car in a location that is level. This is to safely place your car on jack stands. Find a nice flat chunk of real estate. Your garage is your best bet or your driveway, if it is flat.
Loosen Lug Nuts
If you own an impact, you can skip this step.
We will loosen each lug nut enough to remove them once the car is in the air. Don’t loosen them too much though, as we are still supporting the full weight of the car. This is where the optional breaker bar may be handy as the lug nuts are very tight.
Jack up the car
Use your jack to raise your car into the air and position the jack stands under the car. Make sure you are jacking on the structural points of your car. You can find these points in your owner’s manual.
Use caution when jacking the car from the lift points, as you reach the upper limit of the jack, it may touch the body of the car and cause damage. If this happens, you may be able to reposition the jack so that it will clear the body of your car. We shouldn’t be lifting high enough for the jack to run into the body.
Position the jack stands at four secure points of the car to prevent damage and instability. I prefer to use the frame, but that isn’t always an option. You can use other strong points of the car, such as the axle or the a-arms of the suspension.
Once on the jack stands, test the car for stability to make sure it is well-positioned on the jack stands. If you find a problem, reposition the jack stands for better stability.
Remove lug nuts
Now that we are in the air, we can remove the lug nuts and tires from the car. If you had an impact, this is when we can use it.
As you remove each set of lug nuts don’t leave the tires hanging on the lugs, we don’t want runaway tires!
Be sure to note the tire’s position! This will be important in a minute. If it helps, mark them in some manner (I use LF, Left Front, etc).
Reposition Tires
The tires will be repositioned in one of a few different patterns depending on the drive type of your car. Click on this link here to get a complete breakdown of the different rotation patterns.
Install Lug Nuts
Now we can hang the tires back on the car.
I hate having to say this but don’t put them on backward… the taper on the lug nut holes out…
If you have an impact, I recommend not using it to spin the lug nuts back on as it is easy to over tighten them with an impact. Do not overtighten the lug nuts! If you break a stud, you just created yourself a new nightmare!
Start by spinning the lugs on by hand. Use a rachet to ensure the lugs are firm but not tight against the wheel. If the lugs aren’t firm to the wheel when you set the car back on the ground, then you are more likely to leave a lug loose. This is because the friction of the floor overcomes the torque required to tighten the lug. This is avoided by making sure the tire is properly seated to the hub before setting the car on the ground.
Lower Car to Ground
Set your car back on the ground and we have one last step.
Torque Lug Nuts
Now that everything is back on the ground, we can torque the lug nuts. You will find the lug nut torque in the owner’s manual. It is important to have the proper torque on the lug nuts. You want to avoid your wheel passing you on the highway… Again this is easily avoided if we do everything correctly.
Use your torque wrench and tighten the lug nuts in one of the following patterns.

I go through the pattern at least twice, but I recommend beginners complete the pattern three times. We must take all the slack from each lug nut or we risk leaving one loose.
You’ve Completed the Guide
Congrats! One more accomplishment on your journey to become your own mechanic!
You acquired one more skill that will save you money and expand your knowledge.
If you are interested in more home mechanics, check out our DIY Oil Change guide.
Thanks for reading! I hope our How to Rotate Tires guide was helpful please feel free to leave a comment below and sign up to our email list and become a Gearhead!